Tuesday, March 13, 2012

Glittered Lamp

 Here's a picture of a lamp I glittered for my daugher's room.  We got the lamp cheap from Ikea and lucked out because it's open on the bottom.  I used the same  method everyone was using at Christmas to glitter ornaments; Pledge floor cleaner swirled around the inside, extra dumped out and then the fun part....glitter poured in and swirled around!  I then used a chipboard circle hot glued on the bottom to seal it.
Here's a picture of the lamp with the shade although you can' notice the glitter as much.  I really wanted to do something with the shade, too, but sadly my daugher wouldn't let me! lol

Sunday, March 11, 2012

My First Card using the Art Philosophy Cartridge

Wow, this is my second post today!  I might actually be on a roll!  I just got the Art Philosophy Cartridge a short time ago after hearing so much about it and seeing all you ladies' great projects!  I thought I'd give it a try and created this simple card.  I also got a few of the stamp sets that work with the cart and used Just for You for the flower shape and Hooray Bouquet for the sentiment.

Easter Candy Jar

 Here's my first try at glass etching using my Cricut and I'm loving it!  Other than a small issue on one chick when I went to glue on the bow (the E6000 left a small spot where it hit the etching) I think it turned out great.  : )  I decided to dress it up a little with bling eyes and a ribbon bow.
One the lid I cut out an egg shape (used the negative image to block out what I didn't want to etch) and then cut some small flowers out and attached them inside the egg shape to add a cute design.  Bling centers completed the look.  I see a lot more glass etching in my future!  It was fast and easy.  If you haven't yet, why not give it a try?  Cheap Goodwill or garage sale glass would be great to practice on if you're afraid of ruining a good piece.

Saturday, March 10, 2012

Travel Mug for Cricut Lovers!

Here is the front of a travel mug I decorated using vinyl.    This mug will be traveling all the way to Turkey to the person who ordered it!
Here's the back of the mug.

Saturday, March 3, 2012

Another Spring Bird

 Here's one side of another bird I made.  These are so much fun to do and come together pretty quickly.
Side two.  Not sure which side is my favorite. : )

Thursday, March 1, 2012

3D Wooden Bird

I used a wooden bird from Michaels and Baby Girl paper from Paper Boutique.

   These are the two main papers I chose to use.  For quick and easy coverage I used my RV19 Copic Marker to color the edge of the bird.  It works great and it's much quicker than using paint!
 I put the paper right side down and laid the bird on the edge of the table with it's legs off the edge so it would lay flat with the side I wanted to cover face down.  I traced around the bird and cut it out.
 After tracing both sides I glued the paper to the bird using Mod Podge and painted a layer on top of the paper and also on the sides "painted" with the marker.
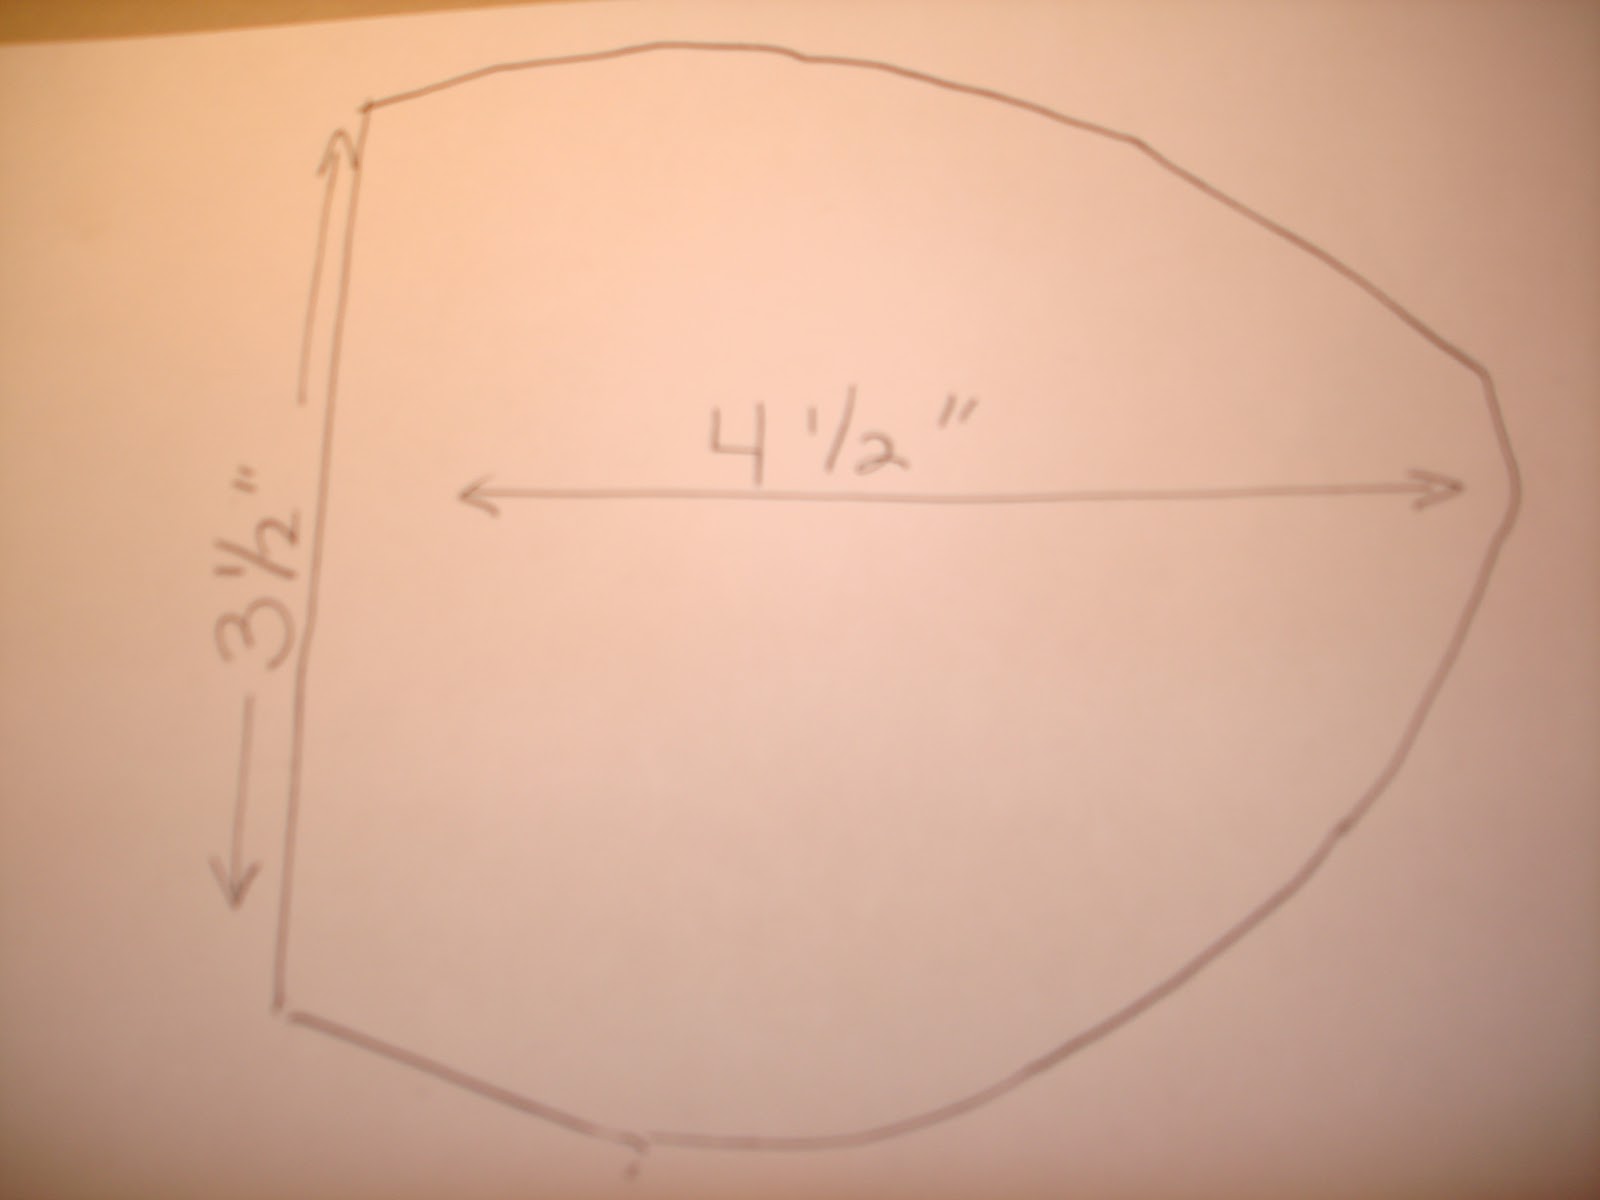
 While the Mod Podge dried I cut out two wings.  For one wing I turned the pattern over so it would be a mirror image to the first wing.  I then used my score board to score the wing every 1/4 inch following the direction of the 4 1/2" arrow in the picture.
 Once the bird was dry I used hot glue to attach the wing.  I just pressed the folds the way I wanted them and pressed the wing to the bird for a few seconds.
 After the wings I decorated the bird the way I wanted it!
As you can see, by using different paper and decorations you can make each side look different which is great for displaying.  If you get tired of one look you can just turn it the other way for a whole new look!